
Men's Scarf Tying Guide: Five Ways to Wear Yours
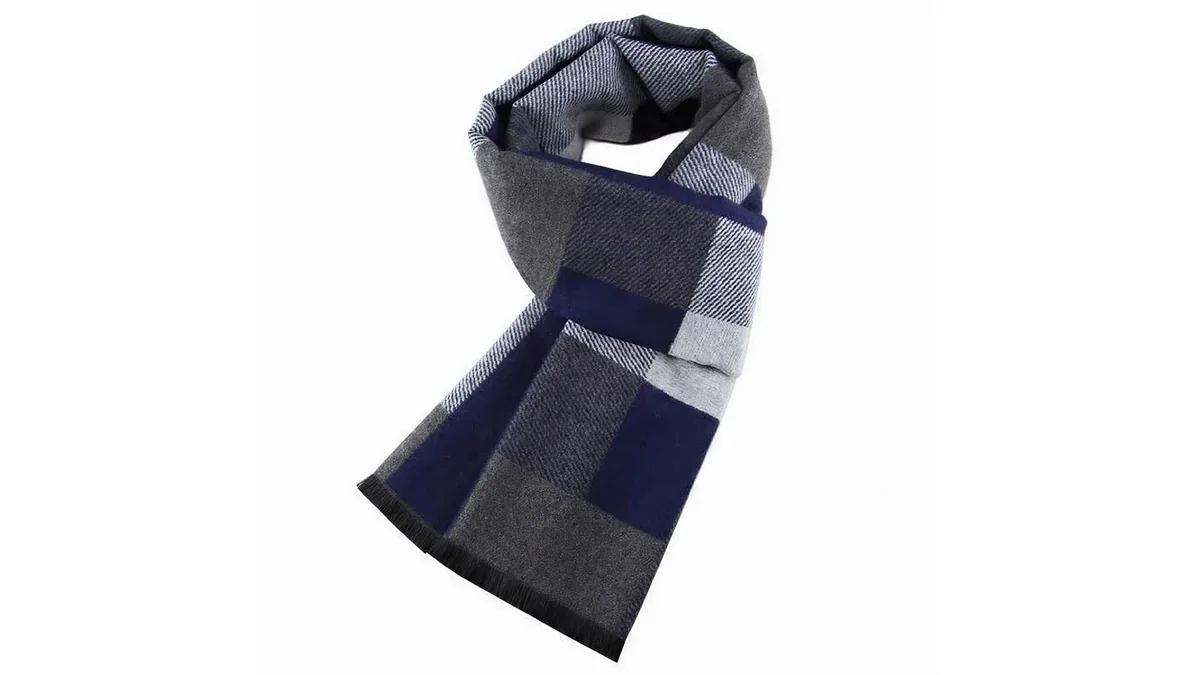
Lay your scarf flat and straighten its ends before choosing a tie. This mens scarf tying guide shows you how to prepare the fabric, make five useful knots and drapes, and adjust them around a coat collar. Start with the open drape, then work through the once-around, folded loop, overhand knot, and reverse drape. We recommend learning the movements with your coat open so you can see where the fabric goes.
1. Start your mens scarf tying guide with a flat fold
Find the middle by bringing the scarf's short ends together, then open it again. This gives you a reference point for styles that begin with equal tails. For an uneven start, shift that midpoint to one side of your neck.
If the scarf is wide, fold the long edges inward into a manageable band. Keep the folds loose and even so you can follow the edges through the knot. Leave tassels outside the folds.
2. Set an open drape inside your coat
- Place the scarf's center behind your neck.
- Bring both tails forward and let them hang to roughly equal lengths.
- Flatten the sections over your chest, then settle your coat lapels over their outer edges.
The open drape has no knot. Use it for two straight panels beneath an open coat. Keep the fabric clear of buttons and zippers before closing the coat. To correct uneven tails, move the scarf across the back of your neck.
3. Make a once-around wrap with uneven ends
- Drape the scarf behind your neck with one tail longer than the other.
- Take the longer tail across your front, around the back of your neck, and forward again.
- Spread the resulting loop and let both ends hang down your chest.
Leave space inside the loop rather than drawing it tight. The tails can finish at different heights. If the wrapped end becomes too short, undo the wrap and give that side more length at the start.
4. Thread both tails through a folded loop
This folded-loop style is often called a Parisian knot. Double the scarf before placing it around your neck.
- Bring the two short ends together to fold the scarf in half.
- Place the doubled scarf behind your neck, with the fold on one side and both tails on the other.
- Pass both tails through the opening at the fold.
- Slide the loop upward gradually, then flatten the tails below it.
Stop while the knot still has room to move. Doubling the fabric uses up hanging length. If the tails barely reach through the opening, choose a drape or single wrap instead. Keep tassels fully through the loop rather than pinched inside it.
5. Tie a loose overhand knot at the front
- Begin with both ends hanging in front, one slightly longer.
- Cross the longer end over the shorter one.
- Bring the longer end behind the shorter end and up through the opening beneath your neck.
- Lower that end over the front of the knot and spread it flat.
Position this single knot below the collar opening and let the front panel cover part of the tail underneath. If the front looks twisted, loosen the crossing and straighten the fabric there. Pulling harder will hold the twist in place.
6. Send the tails backward for a reverse drape
- Place the scarf behind your neck with the ends hanging evenly in front.
- Take the right tail across your chest and over your left shoulder.
- Take the left tail across the front and over your right shoulder.
- Spread the crossed fabric at the front and arrange the tails behind you.
Check the back in a mirror so the tails lie outside the collar. This arrangement has no securing knot. If the ends keep sliding forward, use the once-around wrap instead of tightening the front crossing.
7. Check your collar and loose ends
Close your coat as you intend to wear it, then check the scarf from the front and side. Lift fabric caught beneath a lapel. Smooth the visible panels downward and clear loose ends from fastenings. To remove a tied scarf, loosen the crossing first and reverse the steps.
Make final adjustments by feeding a little fabric through the knot, then smoothing it with your fingers. A knot that sits off center can be moved sideways as a whole. If correcting one end keeps shortening the other, untie it and reset the starting lengths before repeating the steps.
Mistakes to avoid while tying
- Starting every style with equal ends: the once-around needs extra length on the side that travels around your neck.
- Adding folds after tying: unfold and prepare the scarf again if the knot becomes bulky.
- Pulling on tassels: hold the fabric above the fringe when adjusting a tail.
- Forcing a short tail through: loosen the loop or choose another style when too little fabric remains.
- Ignoring loose ends: tuck them inside your coat where needed and keep them away from moving machinery.
Four Buddha Stones scarves: materials, sizes, and options
Our product details give you dimensions to compare before choosing a scarf for these methods. Check width as well as length when planning your folds.
Classic plaid rectangle
The Buddha Stones Classic Plaid Tassel Cozy Rectangular Men's Scarf is viscose and measures Approx. 31 cm × 180 cm / 12.2 in × 70.8 in. Its color options are DimGray, Goldenrod, LightGrey, and SlateGray. The package includes one scarf.
Color block stripes
The Buddha Stones Color Block Stripe Tassel Cozy Men's Scarf is rayon. Its size is Approx. 180 cm × 30 cm / 70.8 in × 11.8 in, and its options are Black, Linen, and Navy. One scarf is included in the package.
Dark grid format
The Buddha Stones Dark Grid Tassel Layering Men's Scarf is polyester, with dimensions of Approx. 200 cm × 130 cm / 78.7 in × 51.1 in. Options are DarkSlateGray, DimGray, RosyBrown, and SaddleBrown. Package contents are one scarf.
Geometric crosshatch pattern
The Buddha Stones Geometric Crosshatch Tassel Classic Men's Scarf is polyester and measures Approx. 180 cm × 30 cm / 70.8 in × 11.8 in. Available options are DarkRed, DimGray, and MidnightBlue. The package contains one scarf.
Return to the open drape whenever you need to reset the fabric. Choose one tie, check its starting lengths, and follow the sequence until you can arrange the folds without repeatedly tightening the knot.
Shop the story
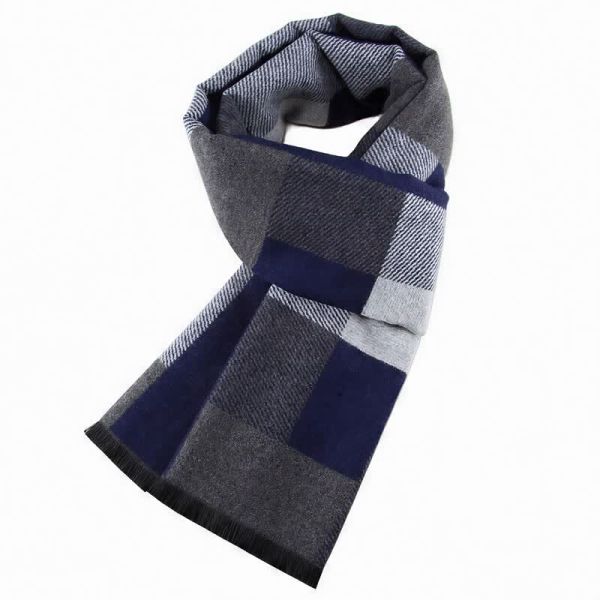 Buddha Stones Fall Winter Classic Plaid Tassel Cozy Rectangular Men's ScarfAs low as $21.59 Regular Price $29.99
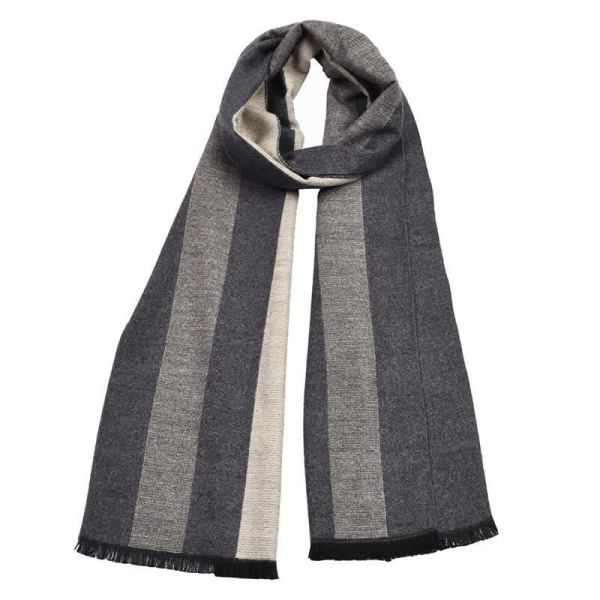 Buddha Stones Fall Winter Color Block Stripe Tassel Cozy Men's ScarfAs low as $21.59 Regular Price $29.58
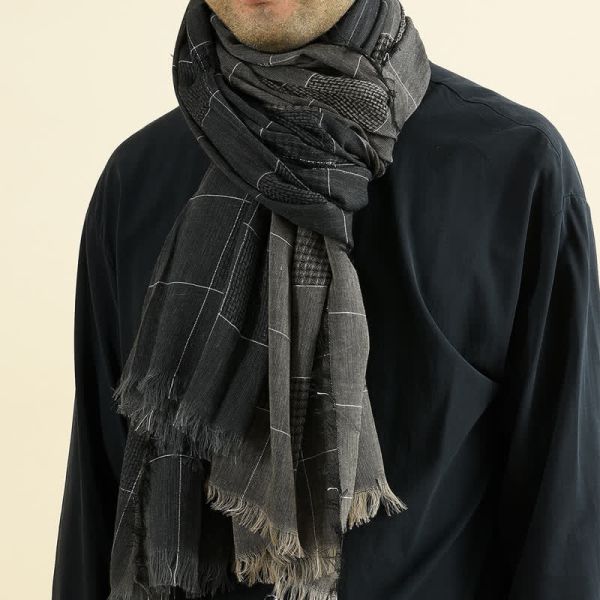 Buddha Stones Fall Winter Dark Grid Tassel Layering Men's ScarfAs low as $22.59 Regular Price $30.12
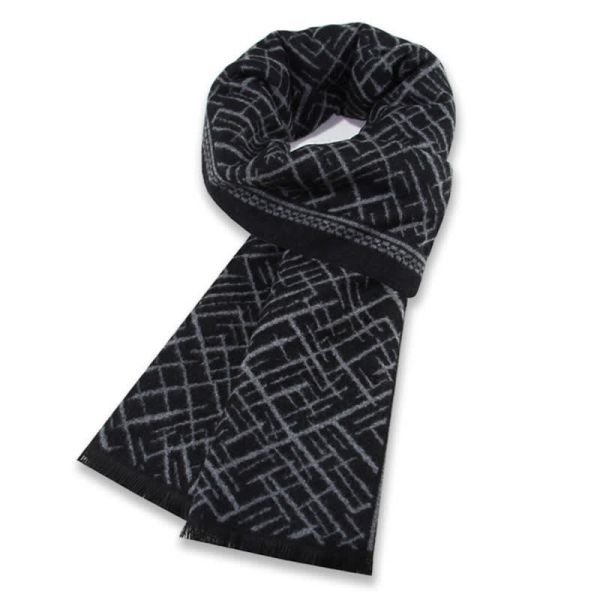 Buddha Stones Fall Winter Geometric Crosshatch Tassel Classic Men's ScarfAs low as $23.59 Regular Price $31.45