
Chinese Lantern Decor: A Practical Home Setup Guide
A lantern hangs beside a window, its shape outlined against the evening glass and its tassel clear of the sill. That small arrangement captures a useful approach to chinese lantern decor: choose a visible position, leave room around the decoration, and keep its light accessible. Lanterns traditionally appear around entrances, windows, and gathering spaces during Chinese festivals. At home, you can follow that placement language without assigning a compass direction or expecting a particular outcome. Start with the space available, then select and assemble a lantern that fits.
Step 1: Give Your Chinese Lantern Decor a Clear Setting
Choose one display area before selecting colors or motifs. An entryway offers a welcoming setting, a window provides a frame, and a corner near a dining area connects the decoration with a gathering space. Keep the lantern outside the movement of doors, curtains, and chairs.
Decide what the arrangement needs to do visually. A single lantern can mark a narrow window; a broader wall may accommodate a small grouping. You do not need to fill the entire available area. Leave enough surrounding space for the outline and any hanging details to remain visible.
For a festival display, choose a location people can see from the main gathering area. For a longer arrangement, prioritize access: you should be able to reach the light controls and remove the decoration without climbing over furniture.
Step 2: Measure the Full Hanging Space
Measure the available width, height, and clearance from nearby objects. Include the space below the lantern, especially if the selected design has a tassel or pendant. A measurement that includes tassels describes a different footprint from the lantern body alone.
Use a strip of paper or a loose length of string to mark the proposed position before installing a support. Open the nearby door fully and draw the curtains through their usual range. Check the view from both standing and seated positions.
Choose a secure support appropriate for the mounting surface and the decoration. Do not assume a carrying handle is a ceiling attachment or that an included assembly part is suitable for fixing into a wall. Keep the display away from ceiling fans, cooking areas, candles, and incense.
Step 3: Lay Out the Parts Before Assembly
Clear a dry work surface large enough to spread out the components. Compare the contents with the package information for your chosen model, and keep small fittings together in a shallow container. Follow the assembly directions supplied for that design; different lantern shapes can require different connections.
Identify the front, back, upper attachment point, and light position before applying adhesive or closing the body. Where parts need alignment, bring them together gently first. Forcing a tab or stretching a paper panel can distort the finished shape.
Check the light before making its compartment difficult to reach. Keep button batteries and loose fittings away from young children, and have an adult manage battery installation. If assembly includes adhesive, allow the connection to set according to its instructions before lifting the lantern by its handle or hanging point.
Step 4: Arrange the Light and Surrounding Objects
Use the lighting components intended for the lantern and follow their operating instructions. Do not substitute a candle or place a separate hot bulb inside a paper decoration. Leave the battery compartment accessible so switching off and later replacement remain straightforward.
Check the arrangement with the room lighting you normally use. If nearby objects obscure the lantern, move those objects before adding more decorations. A teapot, vase, or framed picture can share the setting, but leave enough room to use the surface comfortably.
Near a tea area, position the lantern beyond splashes and rising steam. Keep its hanging details away from cups, serving utensils, and the path used to carry hot water.
Step 5: Check These Common Setup Mistakes
- Measuring only the central shape. Allow room for handles, tassels, and pendants when they are part of your chosen design.
- Fastening parts before checking alignment. Confirm the orientation before pressing adhesive surfaces together.
- Hanging from an unsuitable support. Check the mounting surface and attachment before leaving the display in place.
- Crowding a doorway. Leave clearance for the door, passing shoulders, and carried bags.
- Assuming outdoor suitability. The supplied specifications do not establish weather resistance; choose a dry indoor position.
- Hiding the controls. Arrange the lantern so you can reach its light without pulling on decorative parts.
Step 6: Plan Removal and Storage
Switch the light off before taking the display down. Support the lantern body while releasing its attachment, rather than pulling on a tassel or paper edge. Follow the component instructions for battery removal before extended storage.
Keep detachable fittings together and label them by design. Store paper decorations dry, away from direct sunlight and crushing pressure. Flatten a lantern only if its construction permits disassembly; otherwise, give the assembled shape enough space in a suitable box.
Four Buddha Stones Lantern Designs to Plan Around
Our options offer different shapes and assembly details. Fortune and Luck in product names express traditional wishes; a lantern cannot guarantee those wishes will come true.
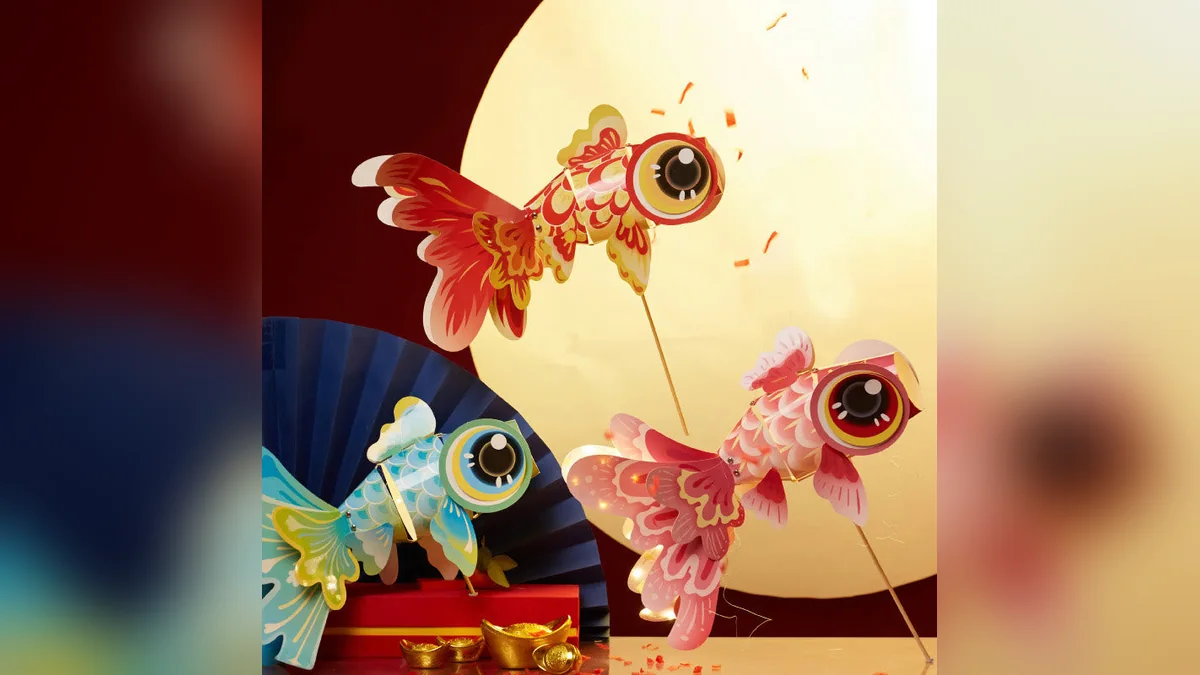
DIY Fortune Luck Koi Fish Paper Lantern is made of paper, with a stated size of 48*11*26cm (About 46cm Height With Wooden Sticks) and weight of 171g. Options include DIY Fortune Blue Koi Fish, DIY Fortune Luck Pink Koi Fish, and DIY Fortune Red Koi Fish. The package includes eight colored cardboard pieces, one wooden stick, electronic string lights, and one button battery, along with assembly supplies. Reserve enough width for the fish shape before choosing its position.
DIY Lotus Flower Dragon Lantern Tassel Lamp uses plastic, silk cloth, and electronic components. Its length is 43cm, and the lotus size is 12*15cm. Self-assembly options come in light pink, light yellow, purple, red, and rose red. Use the stated length when checking clearance below the support, and leave the flower outline visible against its background.
DIY Rabbit Paper Lantern has a size of 25*25cm and a handle length of 26cm. This paper decoration comes in Blue Moon Rabbit Lantern, Two Rabbits Lantern, and White Fu Character Rabbit Lantern options. Its package contains one lantern, one 26cm handle, one lamp bead, one bracket, and two button batteries. Account for the handle separately when planning the display.
DIY Good Luck Cute Rabbit Paper Lantern is a paper decoration with options including Cute Rabbit Lantern, Cute Standing Rabbit Lantern, and Fu Character Lantern. The package includes front and back patterns, lantern side parts, a red rope, lamp, pendant decoration, tassel, handle rod, and one button battery. Check the dimensions for the selected option, since the supplied size list contains several measurements.
FAQ
Where should I place a lantern at home?
Entrances, windows, and gathering areas follow familiar traditional placement. Choose a dry location with a secure attachment, clear walking space, and access to the light controls. There is no single compass direction required for a decorative arrangement.
Can I combine different lantern shapes?
Yes. Start with one main shape, then add another only if the space allows both outlines to remain clear. Repeat a color or align their upper hanging points to connect the arrangement. Check clearance for the longest hanging detail.
Can these lanterns stay up after a festival?
You can keep a decorative display in place if its location remains suitable. Regularly check the attachment, paper condition, and battery compartment according to the component instructions. Take it down if parts loosen or the surrounding space becomes crowded.
Shop the story
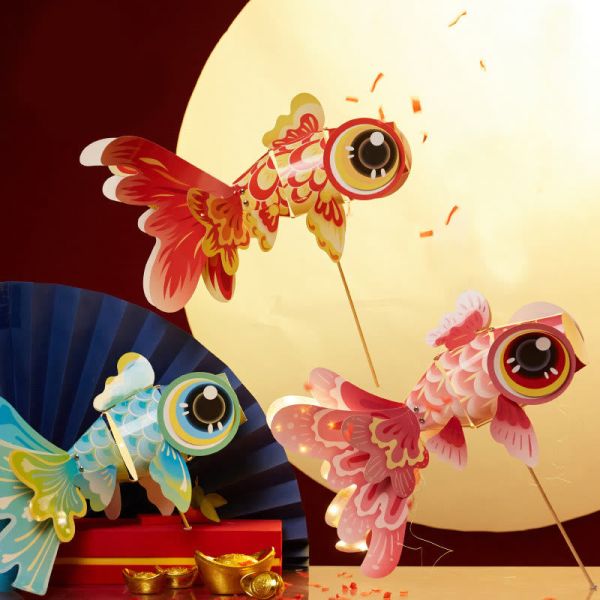 Buddha Stones DIY Fortune Luck Koi Fish Paper Lantern Lamp Mid-Autumn Festival Child Kids Lantern DecorationAs low as $26.59 Regular Price $36.42
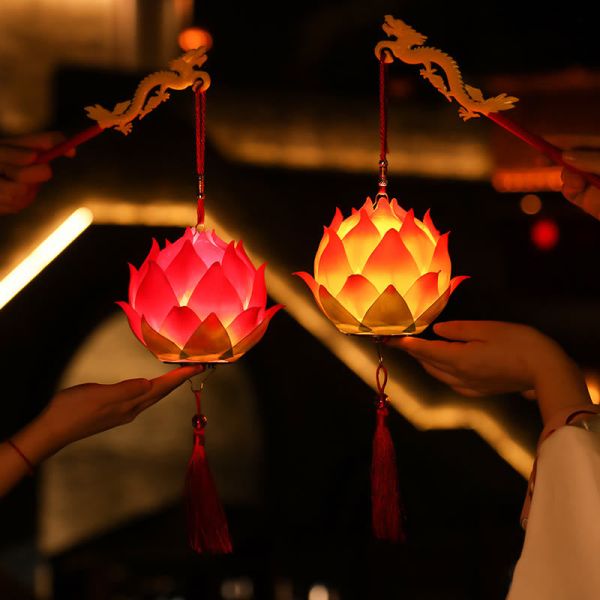 Buddha Stones DIY Lotus Flower Dragon Lantern Tassel Lamp DecorationAs low as $68.59 Regular Price $93.96
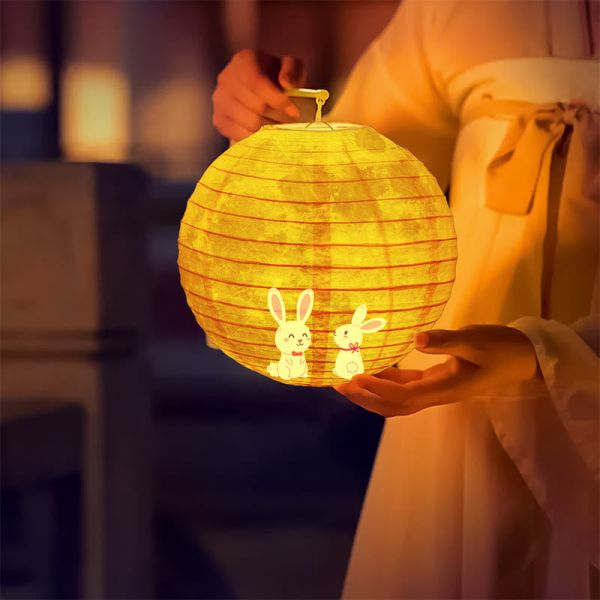 Buddha Stones DIY Rabbit Paper Lantern Lamp Mid-Autumn Festival Lantern DecorationAs low as $45.59 Regular Price $60.79
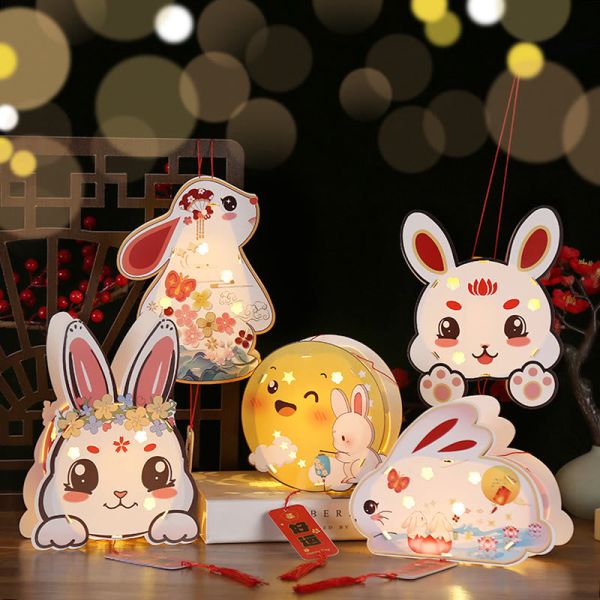 Buddha Stones DIY Good Luck Cute Rabbit Paper Lantern Lamp Mid-Autumn Festival Lantern DecorationAs low as $39.59 Regular Price $53.50