
Incense Cone Guide: Set Up, Light, and Clear Away
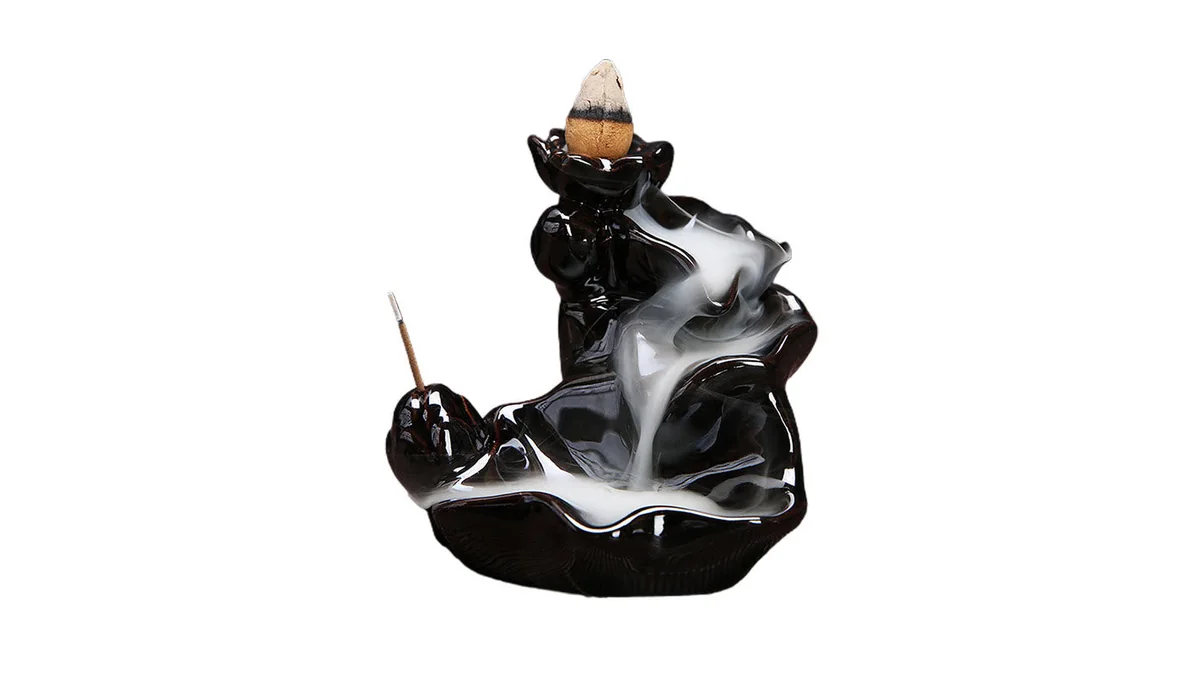
A glowing cone tip leaves a pale edge of ash above a heatproof dish. The setup is small, but the holder, surface, and surrounding space matter. In this incense cone guide, we explain how to match a cone to its holder, light the tip, extinguish the flame, and clear away cooled ash. In Buddhist home practice, incense is commonly offered in a holder before a Buddha image; arrangements differ among traditions. For either devotional or decorative use, begin with a stable, uncluttered burning area.
Step 1: Identify the cone before choosing its seat
Ordinary incense cones usually have a solid base. They burn from the pointed tip downward, with smoke rising above them. Use a holder intended for cones that supports the whole base and contains the ash. A holder designed only for incense sticks may lack a suitable resting place.
Backflow cones have a passage through the center and an opening underneath. They need a compatible burner with a smoke inlet beneath the cone. An ordinary cone will not produce the intended downward smoke effect simply because it sits on a waterfall burner.
Check the cone packaging and holder instructions together. Do not drill a cone, force it into a recess, or assume that similar-looking cones fit the same seat. Keep the unused supply dry and separate from the burning area.
Step 2: Give the burner a clear, stable position
Set the holder on a level, heat-resistant surface, with a suitable noncombustible tray underneath when needed to catch stray ash. Check that the burner stands securely before adding a cone. A decorative pad or table covering should not substitute for heat protection unless its instructions expressly allow that use.
Leave clear space above and around the cone. Curtains, paper, dried flowers, shelves, and hanging decorations should remain away from the flame and rising smoke. Choose a location beyond the reach of children and pets, away from edges and busy walkways.
Allow ventilation without placing the cone in a strong draft. For traditional placement before a Buddha image, keep the burner far enough forward that heat and residue do not reach the image. Respectful arrangement and practical clearance can share the same space; there is no need to crowd the holder against other objects.
Step 3: Light the point and establish an ember
Place one unlit cone upright in its intended seat. For a backflow cone, align the opening underneath with the burner's inlet. Complete this positioning before lighting so you do not need to move a hot cone.
Bring a match or lighter to the pointed tip. Allow the tip to catch, then gently blow out the visible flame once an ember has formed. Follow the cone maker's lighting directions rather than relying on a universal number of seconds.
The cone should smolder rather than continue burning with an open flame. If it goes out immediately, let it cool before checking for moisture, loose ash at the tip, or a poor fit. Avoid repeatedly adding flame while handling or repositioning the cone.
Keep the match or lighter away from the holder after lighting, and place spent matches in a suitable noncombustible receptacle.
Step 4: Supervise the burn without moving the holder
Stay nearby while the cone burns. Do not carry the burner between rooms or adjust its position to chase a particular smoke pattern. Air movement can change the smoke's direction even when the cone is seated correctly.
Burning time varies with the cone, so use the packaging as your reference. A short cone should not be treated as a timer for another activity. Extinguish it before leaving the area.
If you need to stop early, follow the maker's directions. One practical method is to use metal tongs to lower the cone into a separate heatproof container of water. Keep water away from the hot burner, and confirm that no ember remains.
Step 5: Wait for cooling, then remove the residue
Let the cone remains, ash, and holder cool completely before cleanup. A cone can retain a glowing center after its outer surface looks spent. Do not tip fresh ash into household trash.
Remove cooled ash carefully without blowing it across the room. Check the cone seat and, where present, the smoke opening for buildup. Follow the burner's care instructions for further cleaning; ceramic and resin products should not automatically receive the same treatment.
Allow cleaned parts to dry before the next use. Keep the burner empty between sessions so an old cone cannot be mistaken for a fresh one.
Common mistakes that complicate a simple setup
- Choosing by appearance alone: Match the cone type and base to the holder before considering its decorative shape.
- Leaving the flame burning: Cone incense normally continues as a smoldering ember after the flame is extinguished.
- Blocking ventilation for a smoke effect: Adjust the location instead of closing the room around the burner.
- Adding another cone too soon: Let the holder cool and clear its seat before restarting.
- Assuming accessories are heat barriers: Confirm their intended use rather than relying on appearance.
- Disposing of ash immediately: Wait until both ash and remaining cone material are fully cold.
Incense cone guide: four burner options
Our product specifications help you compare materials, dimensions, and package contents. These are backflow burner designs, so check the intended cone type and fit before use.
A ceramic waterfall holder with separate accessories
The Handcrafted Waterfall Incense Holder is ceramic, with dimensions of 3.4* 3.4 IN (8.8*8.8CM). Its package contains one incense burner, a Lotus Leaf, and a Villus pad. The package specification does not state a cone quantity, so plan your incense supply separately.
A resin mountain tower burner
The Waterfall Mountain Tower Incense Burner is resin and weighs 700g. Its dimensions are 5.9*7.87*5.12 IN (14*19*13CM). The package contains one incense burner without incense. Compare those dimensions with your available surface while allowing additional clearance around the burning cone.
A dragon design in two color options
The Dragon Ceramic Backflow Incense Burner comes in Black and Gold options. It is ceramic and weighs 1000g. The size specification reads 20.2cm-20.5cm, Tray 13.3cm. Its package contains one burner without incense; arrange a compatible cone supply separately.
A pumpkin and ghost decoration
The Halloween Pumpkins Ghost Backflow Incense Burner is resin, measures 10.4*10.2*17.6cm, and weighs 389.5g. Its incense specifications describe 50 cones per pack in random mixed scents or sandalwood. The stated burning time is about 10 minutes for those cones; that timing should not be applied to other incense.
Frequently asked questions
Can an ordinary cone work in a backflow burner?
Only use it if the burner's instructions permit ordinary cones and provide a suitable seat. A solid cone lacks the underside passage needed for the downward smoke effect. The decorative shape alone does not establish compatibility.
Does incense need a particular compass direction?
There is no single direction required for general household use. Buddhist customs vary, and a specific temple or practice may have its own arrangement. Prioritize stable placement, clearance, and ventilation; follow your tradition's guidance when making an offering.
Why does a cone keep going out?
The tip may not have established an ember, the cone may be damp, or airflow may be unsuitable. Let everything cool before checking the seat and packaging instructions. Replace a damaged cone rather than trying to reshape it while hot.
Shop the story
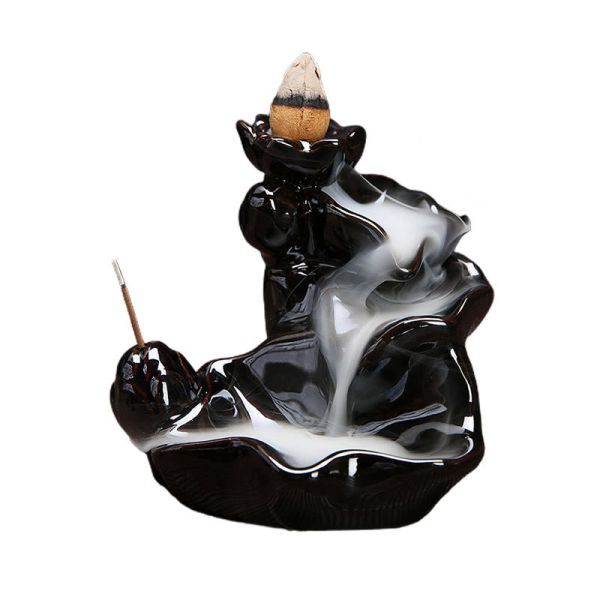 Handcrafted Waterfall Incense Holder Backflow Cone Ceramic BurnerSpecial Price $36.59 Regular Price $48.79
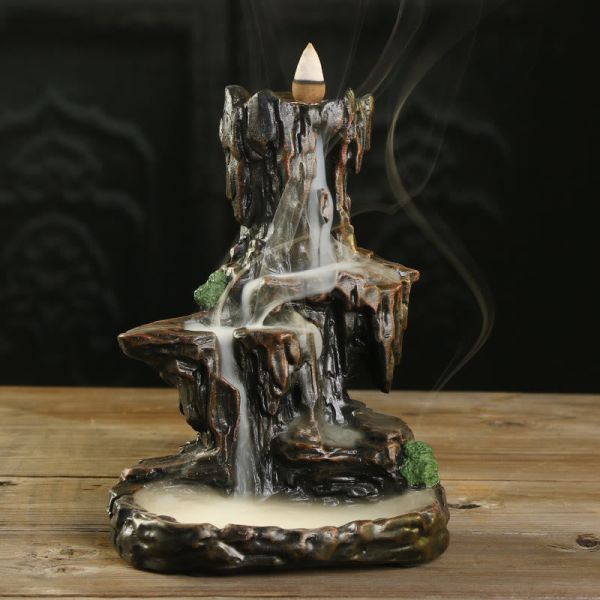 Buddha Stones Waterfall Backflow Incense Burner Mountain Tower Incense HoldersSpecial Price $78.59 Regular Price $104.79
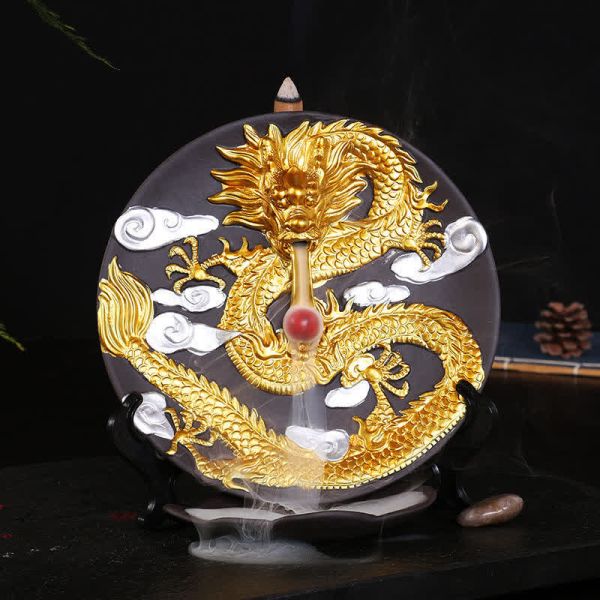 Dragon Ceramic Backflow Smoke Fountain Meditation Incense BurnerAs low as $109.59 Regular Price $150.12
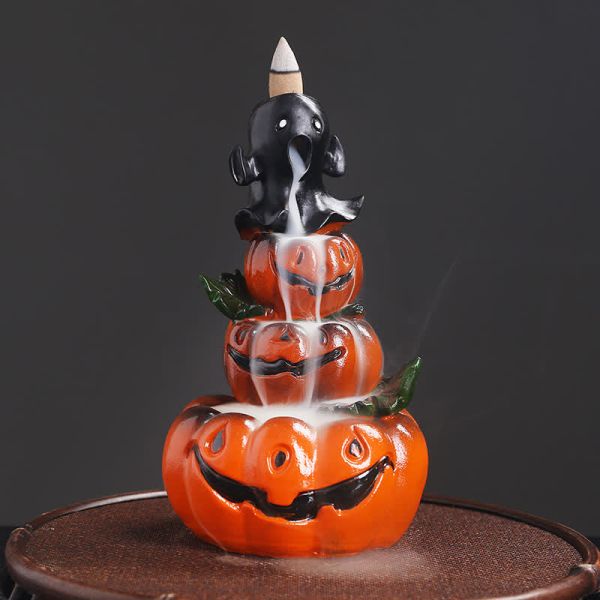 Halloween Pumpkins Ghost Resin Backflow Smoke Fountain Incense Burner DecorationSpecial Price $57.59 Regular Price $78.89