
How to Use a Gaiwan: A Step-by-Step Brewing Method
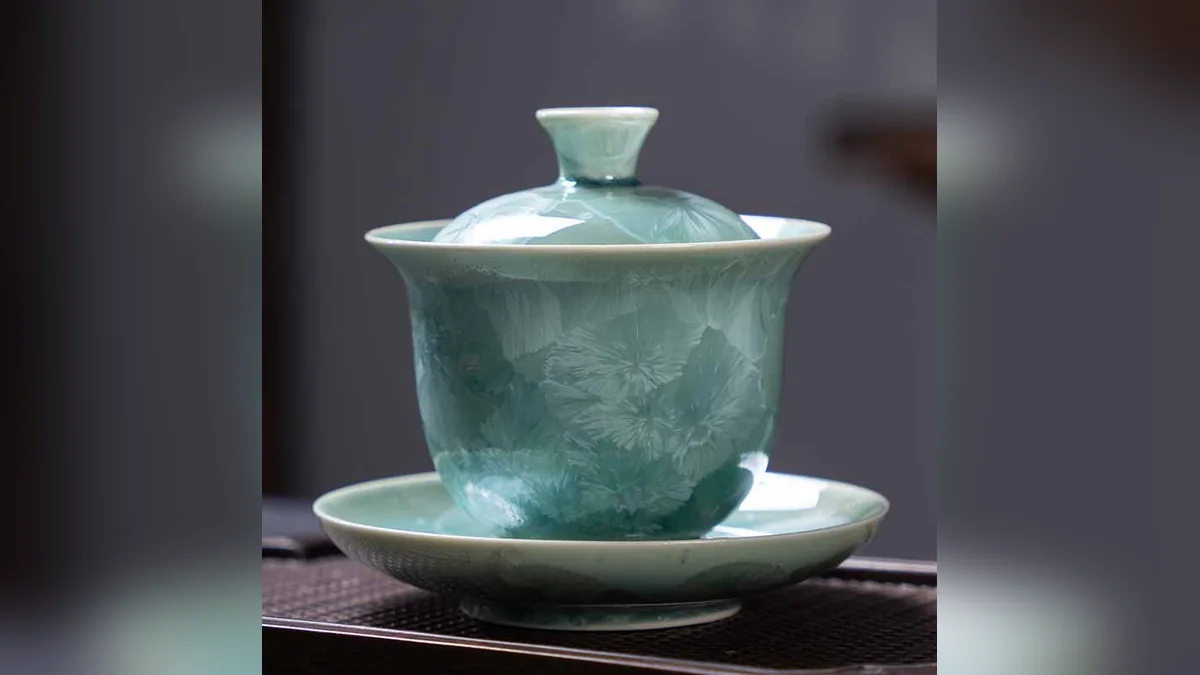
Lift the lid off a small lidded bowl, set it next to its matching saucer, and you already have the three pieces that make a gaiwan. The name is often translated as “covered bowl,” and a finished set has a lid, a bowl, and a saucer underneath. A common reading pairs the lid with heaven, the bowl with people, and the saucer with earth, though you do not need to hold onto that idea to brew well. Learning how to use a gaiwan is mostly a matter of managing heat and timing with your own hands, since the vessel has no handle to hide behind and no strainer built in.
That lack of hardware is really the point. A gaiwan lets you see the leaves, control the steep down to the second, and pour straight into a cup or pitcher without extra equipment. The steps below describe one common approach to using a gaiwan for loose-leaf tea, gongfu-style, with short, repeated infusions rather than one long steep.
How to Use a Gaiwan, Step by Step
- Warm the gaiwan. Pour a small amount of hot water into the empty bowl, swirl it around the walls and lid, then pour it out. This brings the ceramic closer to brewing temperature so the first real infusion is not cooled down by a cold vessel. It only takes a few seconds and is worth doing even if you are in a hurry.
- Add the leaves. A common starting point is roughly 5 grams of oolong or pu-erh per 100 ml of capacity, with less leaf for green tea. There is no single correct ratio, so adjust the amount to taste as you get used to your gaiwan’s size and your own preference for strength.
- Pour the water. As general guidance, cooler water suits green and white tea, while near-boiling water suits oolong and dark tea. Pour in a slow, steady stream rather than a splash directly onto the leaves, which gives the leaves room to settle before they start infusing.
- Rinse the leaves, if you like. Many drinkers give compressed or tightly rolled leaves a very brief first pour, discarded right away, before the first infusion that is actually drunk. This step is optional and some teas do not need it at all.
- Cover and steep briefly. Set the lid on and count in seconds rather than minutes for gongfu-style brewing. A first infusion might be gone in well under a minute; later infusions can run a little longer each time as the leaves slow down.
- Position your fingers. Rest your thumb and middle finger on the rim of the bowl, and your index finger lightly on the lid’s knob. Shift the lid slightly so it no longer sits flush, leaving a small gap along one edge.
- Pour through the gap. Tip the whole gaiwan toward that gap and let the tea run out into a pitcher or directly into small cups. The lid acts as a built-in strainer, holding the leaves back while the liquid escapes in a controlled stream.
- Repeat the infusions. Set the lid back in place, add fresh water, and steep again. Good leaves can usually be infused several times, with the flavor and aroma changing a little with each round.
- Empty the leaves and rinse. Once the leaves are spent, tip them out, rinse the bowl, lid, and saucer with plain water, and let everything air dry before you put the gaiwan away.
Handling Heat
A gaiwan has no handle, so the way you fill and hold it matters more than it would with a mug or teapot. Fill the bowl no higher than its own lip rather than right up to the lid, since overfilling pushes hot liquid toward the part of the rim you need to grip. The rim itself tends to stay noticeably cooler than the walls of the bowl, which is why resting your fingers there rather than lower down makes the pour manageable.
If a particular gaiwan still feels too hot to hold with near-boiling water, that is useful information rather than a flaw in your technique. Smaller or thinner-walled pieces heat up faster, and everyone’s tolerance is different. It helps to practice the hold and pour with plain room-temperature water a few times before working with anything close to boiling, so your fingers learn the position before heat is part of the equation.
Comparing Four Gaiwans
All four of our ceramic gaiwans follow the same basic shape, a lidded bowl over a saucer, but they differ in size and surface design, and each page notes that the fired pattern differs a little from one piece to the next. The Traditional Glaze gaiwan is the largest of the group at 11.7 by 10.2 cm with a 180 ml capacity, which suits brewing for two or three small cups at once. The Pine Tree Green gaiwan comes in two sizes, a 150 ml version at 11.3 by 9.5 cm and a smaller 100 ml version at 10.4 by 9 cm, so it is worth checking which measurement you want before ordering.
The Peony Flowers gaiwan sits in the middle at 9.5 by 9.3 cm and 160 ml, while the Lotus Koi Fish Pod Leaf gaiwan measures 11.5 by 9.5 cm and holds 140 ml. If you mostly brew for yourself, a smaller capacity is a practical choice: it heats up and cools down faster, uses less leaf per infusion, and is easier to hold one-handed than a larger bowl filled closer to the brim. Larger sizes make more sense when you are pouring for a couple of cups at a time rather than one.
Beyond capacity, the difference between these four is mostly decorative. The Traditional Glaze and Pine Tree Green options lean toward plain, classic surfaces, while the Peony Flowers and Lotus Koi Fish Pod Leaf designs bring in painted motifs on the bowl and saucer. None of this changes how you use a gaiwan step by step, since the same warm-fill-steep-pour sequence applies regardless of size or pattern. You can browse the wider selection of tea accessories or the full incense and tea category if you want to see how these pieces sit alongside other brewing tools.
After each session, dry the lid separately from the bowl and saucer rather than stacking them together wet. Trapped moisture between the lid and the bowl’s rim is the main reason a gaiwan ends up smelling musty or picking up a dull film over time.
Shop the story
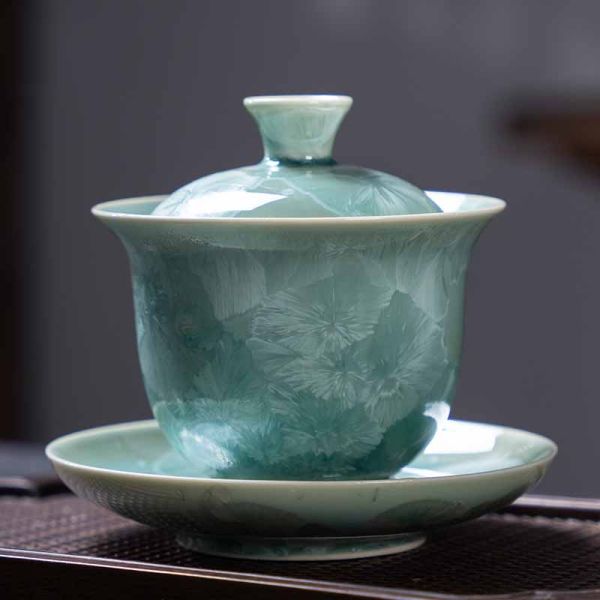 Buddha Stones Traditional Glaze Ceramic Gaiwan Sancai Teacup Kung Fu Tea Cup And Saucer With Lid 180mlAs low as $63.59 Regular Price $87.11
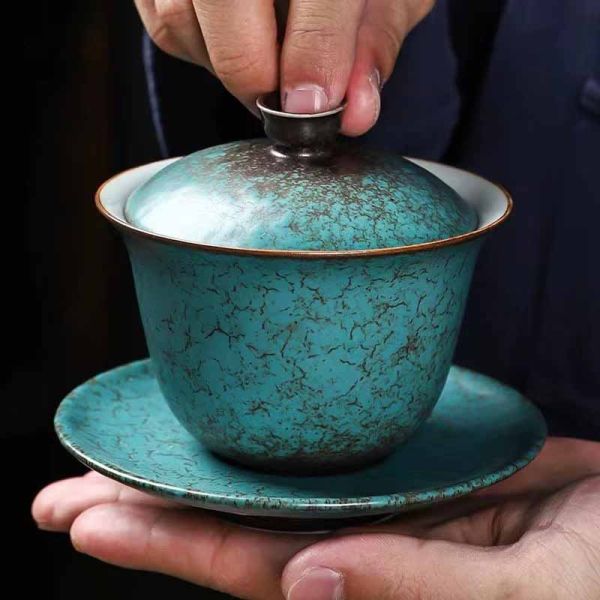 Buddha Stones Traditional Pine Tree Green Ceramic Gaiwan Sancai Teacup Kung Fu Tea Cup And Saucer With LidAs low as $49.59 Regular Price $68.88
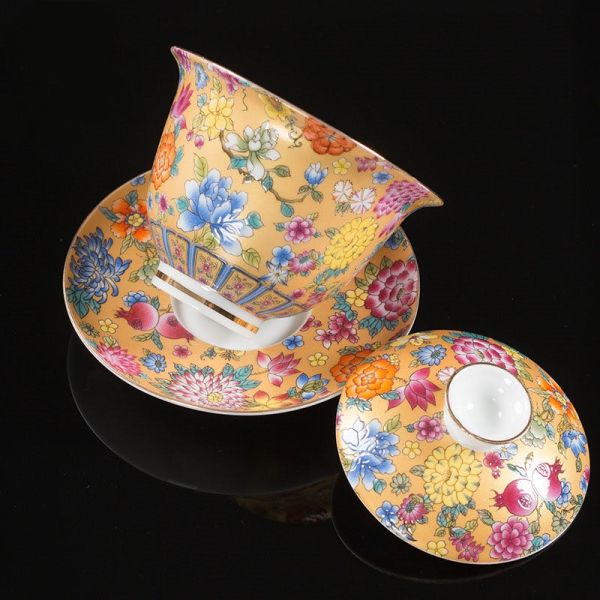 Buddha Stones Peony Flowers Ceramic Gaiwan Sancai Teacup Kung Fu Tea Cup And Saucer With LidAs low as $54.59 Regular Price $75.82
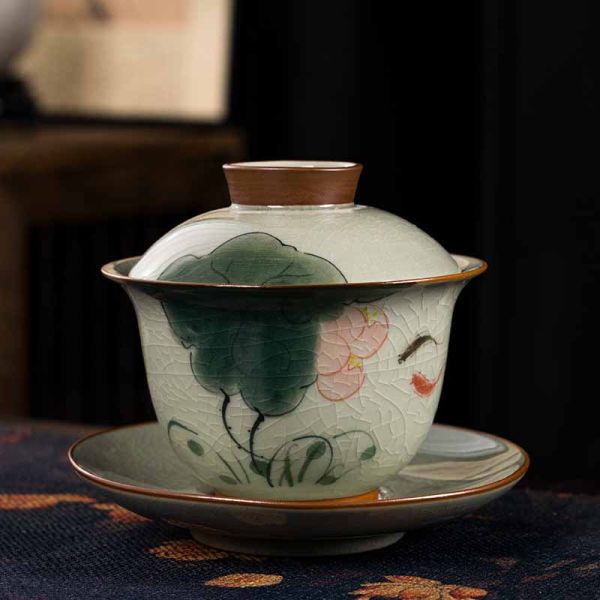 Buddha Stones Lotus Koi Fish Pod Leaf Ceramic Gaiwan Sancai Teacup Kung Fu Tea Cup And Saucer With Lid 140mlAs low as $46.59 Regular Price $62.96