Hair Fork Guide: Build a Bun That Holds Its Shape
A hair fork holds a bun by passing its prongs through the coil and catching hair beneath it. This hair fork guide explains how to prepare your hair, shape the bun, insert the fork, and adjust the hold. The important movement is a small change of direction: catch the outside of the bun, turn the prongs inward, then slide them through supporting hair. Start with a simple bun so you can follow that path.
1. Start your hair fork guide with a construction check
A hair fork has two or more prongs connected at one end. Those prongs spread the hold across several points. A decorative hairpin may have a different construction, so check the actual shape before choosing your insertion method.
Look along the prongs for rough edges or anything that might catch strands. Identify the section that can pass through your hair and the decorative portion that should remain outside. A stated overall length does not necessarily tell you how much of an accessory can sit inside a bun.
Hold the fork beside the bun position you intend to use. You need a path that reaches through the coil without placing the decorative end underneath it. Keep dangling details clear of the insertion path.
2. Gather a section you can control with one hand
Separate obvious tangles with your usual comb, brush, or fingers. Gather your hair at the intended bun position and hold it as an unsecured ponytail. Keep the base gathered while leaving enough movement to form a coil.
Choose a position where you can reach both sides of the bun. A mirror can help you check placement, but your fingers should also be able to trace its outer edge. If your hair only forms a small coil, begin with a half-up section instead of trying to capture every strand.
Keep the fork within reach before twisting. You will need one hand to support the bun while the other directs the prongs. An elastic can provide a separate anchor if needed, but it changes the exercise: the elastic then supplies part of the hold.
3. Form a coil with room for the prongs
Twist the gathered length until it begins to turn around its base. Wrap that length into a bun, keeping the coil close enough to stay together without winding it into a rigid knot. Hold the center with your supporting hand.
Tuck the ends beneath the outer coil. They should sit where the fork can help contain them, rather than stretching loosely across the top. Shorter ends may need a separate small pin; adding one is more practical than tightening the entire bun to trap a few strands.
Leave a little space between the coil and the hair beneath it. The fork needs to connect those layers. A bun that is packed too tightly gives the prongs little room to move, while a very loose coil can spread apart before the fork reaches the opposite side.
4. Catch the edge, turn, and slide through the base
Place the prong tips at one outer edge of the bun, initially pointing slightly away from its center. Catch a shallow section of the outer coil. Avoid taking such a large section that the fork cannot turn.
Keep that section on the prongs as you turn the fork so the tips point back toward the center of the bun. This small reversal connects the outer coil to the next part of the insertion path. Support the bun throughout the turn.
Slide the prongs beneath the coil, gathering some of the hair close to the head, then continue toward the opposite side. Keep the tips traveling roughly parallel to the scalp. You are catching hair underneath the bun, not pushing the tips against your head.
Stop if the fork meets firm resistance. Withdraw it slightly and choose a shallower path, or remove it and loosen the coil. Do not use the decorative end as a lever to force the prongs through.
5. Check the anchor before releasing the bun
Ease your supporting hand away gradually. The bun should remain connected to the hair beneath it instead of hanging entirely from the outer coil. Turn your head gently and check whether the bun shifts or the fork begins to slide.
If the bun drops as one unit, the prongs may have missed the supporting hair underneath. Remove the fork and repeat the insertion with a slightly deeper catch. If only the outside unwinds, tuck the ends again and catch a more useful section of the coil.
If the placement pulls or presses, start again with a looser wrap or a different angle. More force is not the answer. To remove the fork, support the bun and slide it back along its insertion path, freeing any caught strands before continuing.
Mistakes that make a fork difficult to place
- Passing through only the bun. Connect the coil to supporting hair beneath it so the whole shape does not slide together.
- Wrapping too tightly. Leave enough room for the prongs to pass without forcing or bending the accessory.
- Releasing your hand too early. Support the coil until the fork has crossed the bun and caught its base.
- Catching tassels during insertion. Move hanging details outside the coil before directing the tips through your hair.
- Assuming a decorative pin replaces a fork. Check its construction and secure the hairstyle separately when the accessory serves as decoration.
Decorative hairpins: four product specifications to compare
Our product pages identify the following accessories as hairpins. Use their stated dimensions and materials when comparing them. A product name alone does not establish the prong arrangement or show whether an accessory can supply the structural hold described above.
Red agate and ebony wood tassel hairpin
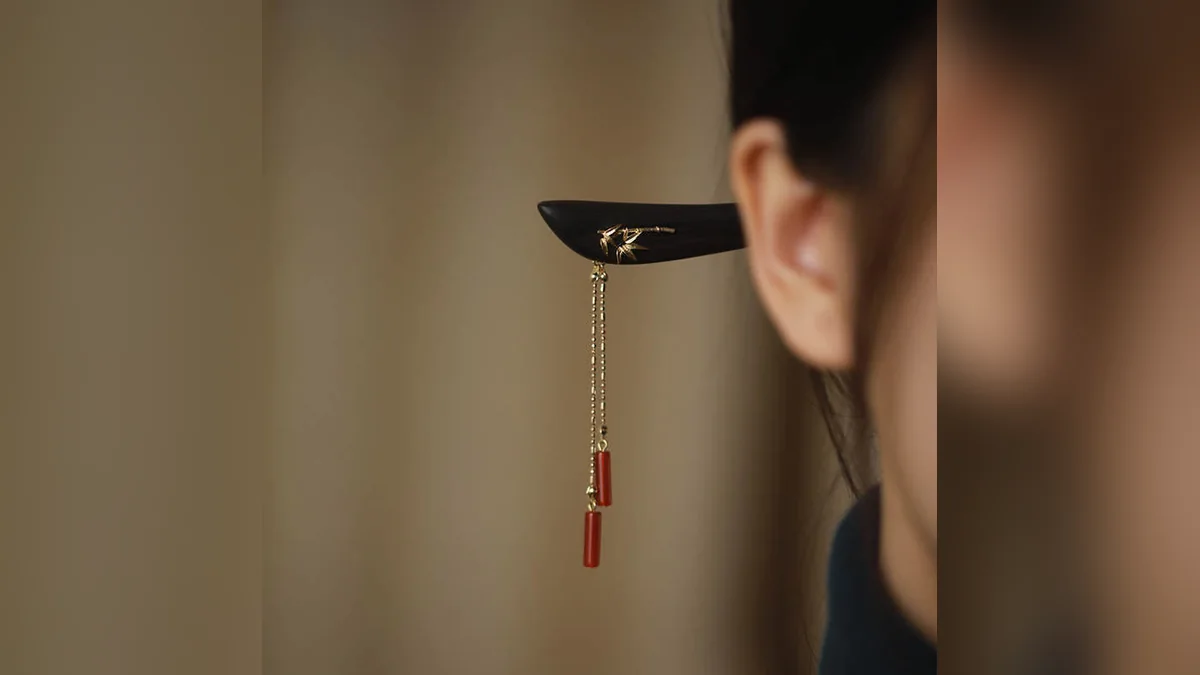
The Red Agate Ebony Wood Confidence Tassel Hairpin, SKU BS344983FACA, has a hairpin length of 18cm and a tassel length of 8cm. Its materials are red agate, ebony wood, and copper plated gold.
Red agate flower and leaf tassel hairpin
The Red Agate Flower Leaf Calm Confidence Tassel Hairpin, SKU BS345514866F, measures 16cm in hairpin length and weighs 27.6g. Its materials are agate, red agate, white copper, and colored glaze.
Ebony wood, yellow flower, and pearl tassel hairpin
The Buddha Stones Ebony Wood Yellow Flower Pearl Tassels Hairpin, SKU BS51562FD5E1, has a hairpin length of 18cm. Ebony wood and pearl are among its stated materials.
Green aventurine and agate hairpin decoration
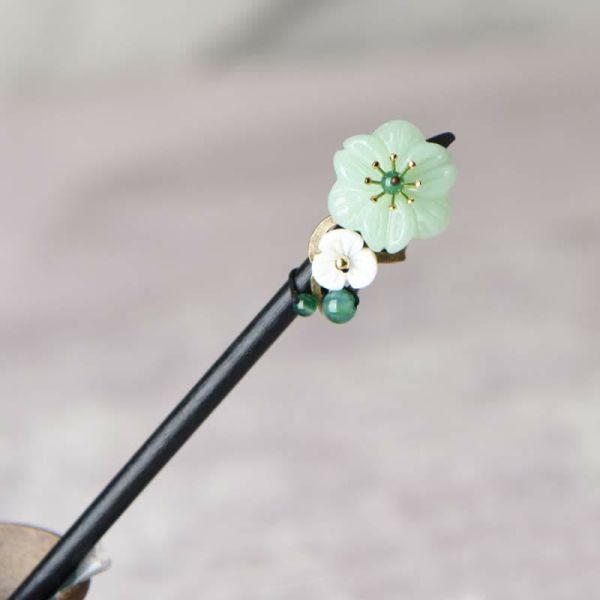
The Buddha Stones Green Aventurine Flower Agate Positivity Hairpin Decoration, SKU BS31217F8C27, is categorized as Decorations, Hairpin. Its hairpin length is 15-16cm, and its materials are green aventurine and agate.
Keep the three movements from this hair fork guide in order: form the coil, catch its edge, and connect it to the hair underneath. Adjust one part at a time. Once the bun holds, arrange any decorative details outside the coil.
Shop the story
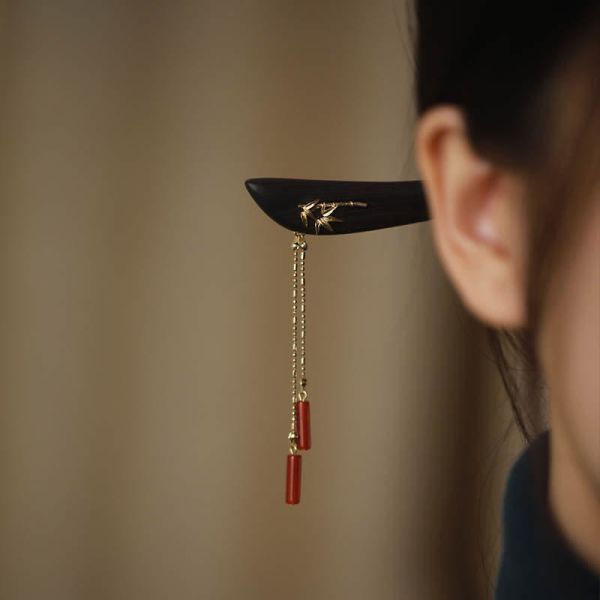 Red Agate Ebony Wood Confidence Tassel HairpinSpecial Price $58.59 Regular Price $80.26
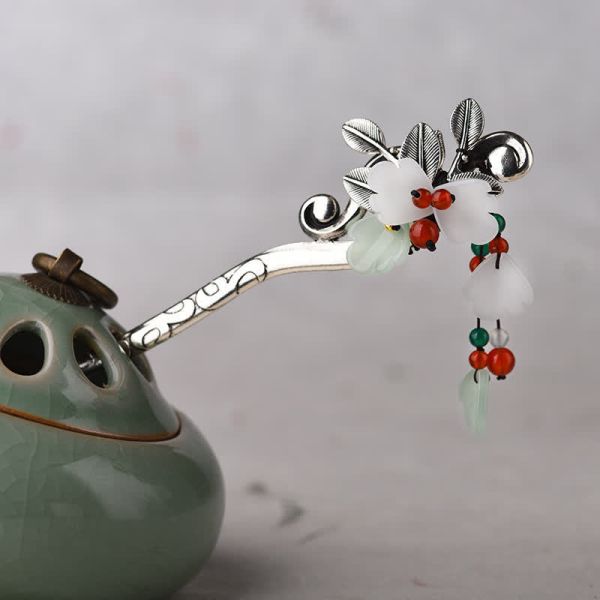 Red Agate Flower Leaf Calm Confidence Tassel HairpinSpecial Price $25.59 Regular Price $35.54
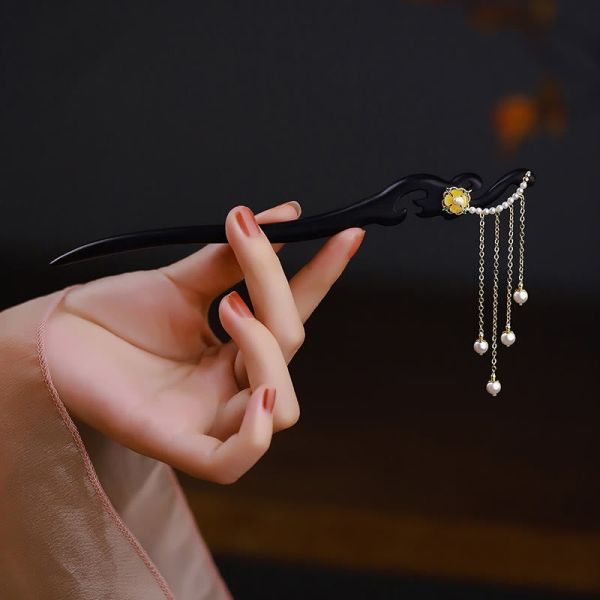 Buddha Stones Ebony Wood Yellow Flower Pearl Tassels HairpinSpecial Price $58.59 Regular Price $80.26